Finishing last parts for the gearbox and thinking of my future V6 projects....
Hi all,
It has been a long time since my last update. Well here we are again and it is a long one this time. I am not so sure my webmaster Stephen Battisson from Australia will be very happy with this. Anyway I am very happy that he’s helping me as he is doing a great job every time again.
Now about the progress of the V6. Last months has been used to complete most of the parts for the gearbox. I am still waiting for 1 shaft that has to be hardened and ground. It all takes time and those treatments cannot be done by myself, so I have to sit in the waiting room like anybody else.
In between times I am busy working out problems that will occur in future for these V6’s or restoring a Laverda 100 for our London-Breganze trip on 18th of July
(see www.laverdaforhealth.org) with Gido, our Dutch president, and Nick and Dean from England. Please feel free to make your donations to keep the doctors rolling in South Africa on their bikes. 100% of the donations will be transferred by Renata Laverda, wife of Massimo Laverda, to the “Riders for Health” organisation.
As promised you will see the perfect job of my Hungarian friend, Ronald Auguston, who made a beautiful petrol tank for the prototype V6!!
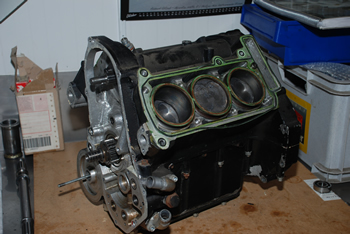
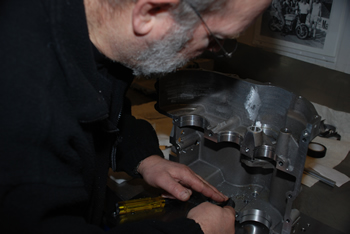
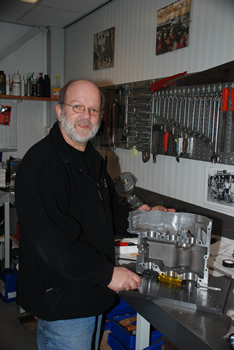
And …I started taking apart the running part of the engine. First check says that everything is in there and moves freely.
Watch it and have fun.
Will be continued……………….
Cor
Finishing the gear selector fork. You can see how these were initially produced in the previous section.
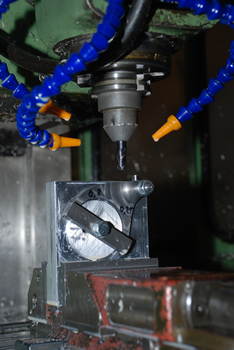
Drive Shafts and Universal Joints:
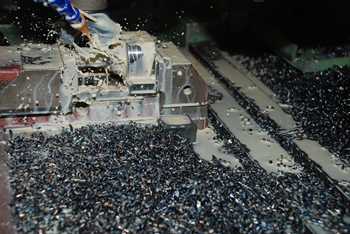
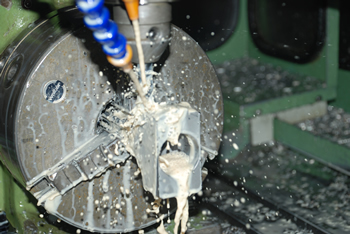
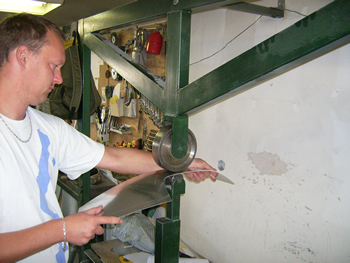
Lots of swarf when milling the drive shafts!
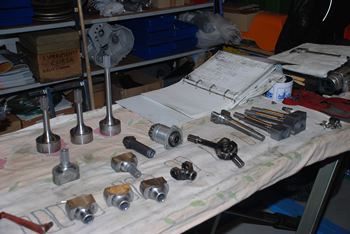
Various components of the final drive. Shafts and universal joints are partially completed, while the original components which are being copied are also visible.
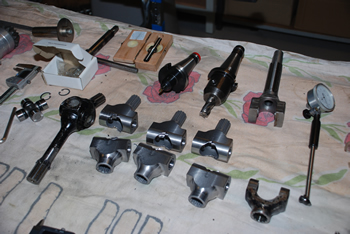
Partially completed universal joint yokes, plus some tooling and measurement equipment. The original shaft is seen at left.
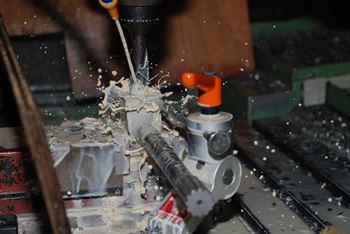
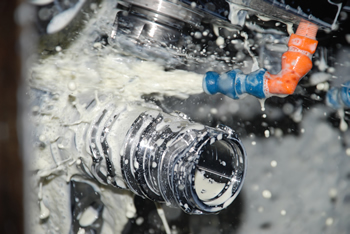
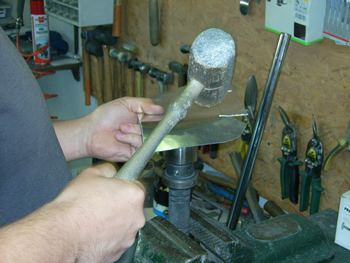
Machining the yoke into the end of one of the shafts.
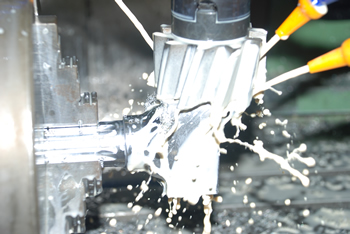
Milling the flats on one of the yokes.
Finer detail of the yoke production.
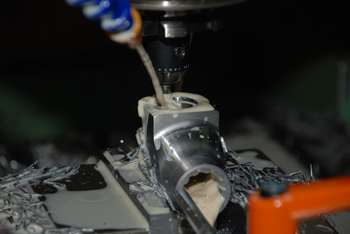
And yet more work goes into the yokes!
Finally found a weekend I could use a machine with driven tools to make the complicated shifting drum in 1 process. I made 4 of them. The gear I made before was welded into the drum and now it has to be hardened and ground to finish.
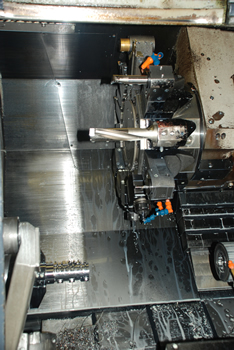
The CNC Lathe with 'live tooling', used to make the selector drum. On such a machine you can use rotating milling cutters in the place where a normal stationary lathe tool would go, allowing great versatility.

The bench with some measuring gear and the four machined selector drums.
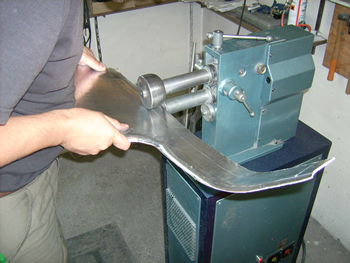
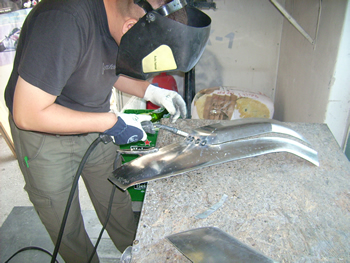
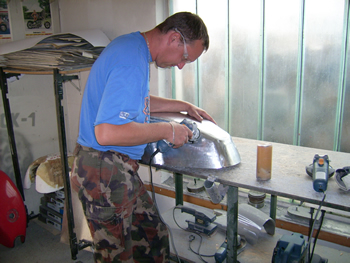
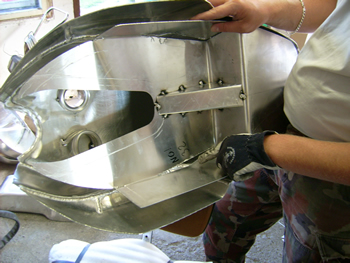
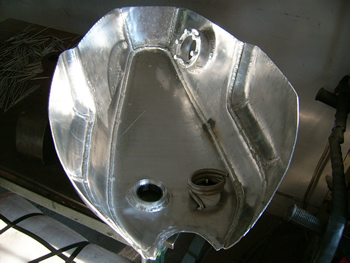
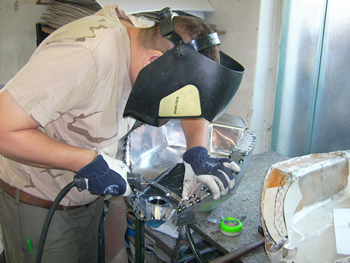
Replica Petrol Tank by Ronald Auguston:
The pictures show the impressive work Ronald Auguston did for me making a very accurate replica petrol tank for the prototype V6. The petrol tank that I had was an original prototype tank but could not be used due the many dents and some wrong dimensions. It must have been one of the very first tanks they have made in 1977. Anyway, now I have a beauty. Thanks to Ronald!!
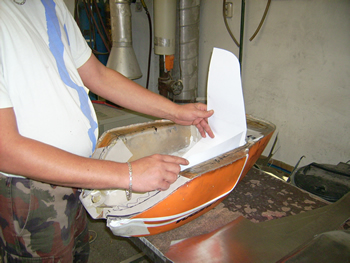
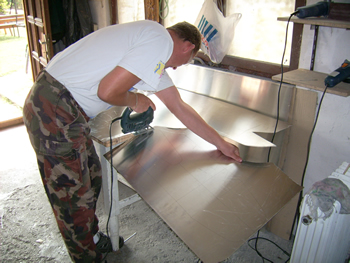
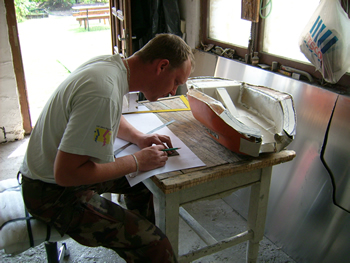
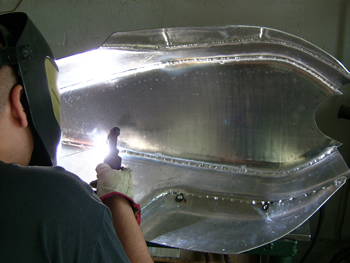
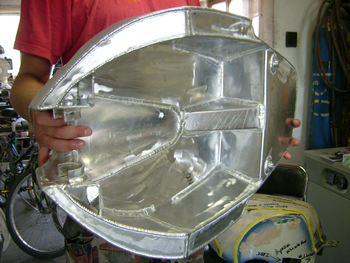
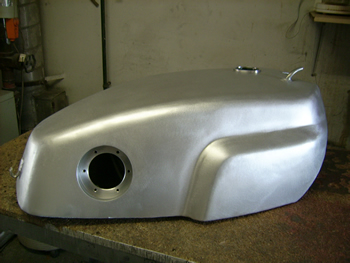
The finished article - a true work of art!
Gearbox Casing for Prototype V6:
I already started in the year 2000 making the gearbox housing for the first V6. I had to quit my activities when my wife and I bought a new home that had to be restored. After that I commenced the Laverda Museum as you know. And in 2007, after many other projects, I started working on the V6 again. So now with an example of the recently bought V6 I did the finishing touch on the castings. Grooves for bringing the bearings into the right position were cut and some other things that had to be done.
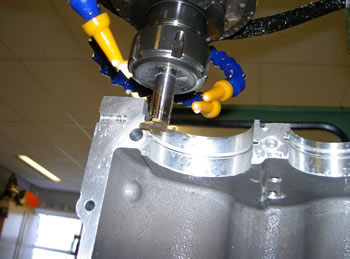
This thin cutter creates the grooves for the bearing retaining rings.
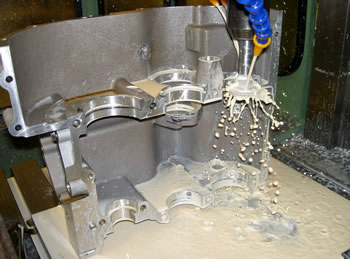
Deburring the casing.
The finished article.
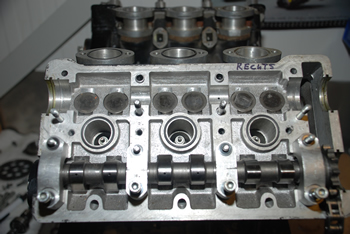
Here we see the camshafts and followers. Camshafts run directly in the upper head section.
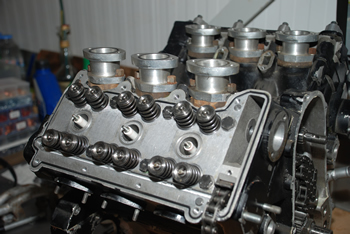
The head is built up with 2 parts. The upper part is called the “camshaft support “. This part carries the camshafts and followers as well. Here it has been removed, exposing the valve springs.
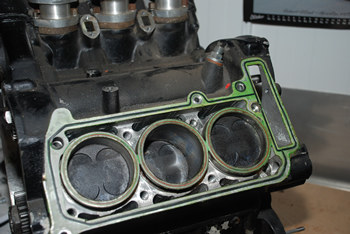
The crank and pistons are moving freely. So that gives hope!!