Update 15 - March 2015
Time flies and loyal readers reminded me the last update was about 1 year ago. So here it is!
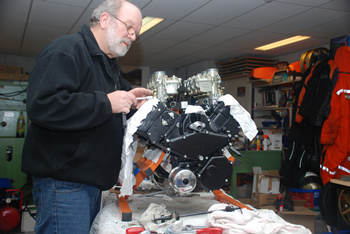
Originally the plan I had was to build in the finished engine in the frame and to test it before assembling the complete bike. And so a rolling chassis, without brakes, wiring and bevel shaft, was loaded on March 19th 2014 and taken to Uwe Witt in Germany. Our son Mels joined as camera-man and Gijs van Dijk as the wiring specialist. A couple of hours later we found out this was a negative illusion. There were still too many problems with the new prototype CDI ignition and a good spark was not available yet. Two weeks later I made the same trip again on my own and after a very long day I came home again at 02.00 o’clock in the morning. Admittedly the engine had run for a couple of seconds but on forehand we already knew sparks were lost above 1000 rpm. I later on decided, in cooperation with Uwe Witt, to first have the engine running with the existing ignition. However I know the 1991 built in engine never has run with it. So I have to keep my fingers crossed if the original system is still working and also working well.
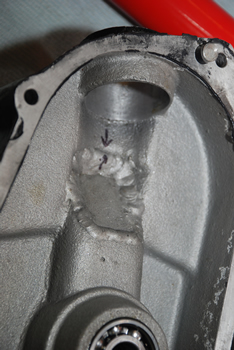
April 2014 was a very busy month with our son’s racing experience and at the end of April a bunch of 30 Breganze people would visit the Laverda Museum and the Netherlands for a long weekend. So I decided to leave the V6 as it was. But of course she was still in my mind and I discovered I had to add water in the system and after that that there was some water in the oil! For several weeks I wondered how and where the water could come into the engine oil. At least 15 places can be found, and to open the engine again and close it again was not an attractive option. I had to find the leak before disassembling the engine. In May I got some more time and armed with 3 small camera systems, borrowed from a friend, all internal areas were checked as far as possible. I put the water pressure on 1.2 bar and after a searching of nearly 9 hours (!) I discovered a falling drop of water. I was in the front section with the camera and I was so bloody happy not to be forged to have to open the engine again and may be finding nothing. In update 6 and 7 you can see why I had to make a shutter in the front crank case. Another aluminium welder repaired it but also made his complains about the bad weld ability of this aluminium piece. For precaution we brought the channel on 5 bar and now it is closed anyway.
New Avon tyres causes many problems. Every week the front tyre was empty. After having checked everything with soap water I found a little leak on the side of the tyre! The was a tiny hole in the surface. A new tyre has brought solution. Also the rear tyre gave me head revisits. After 4 visits to the tyre men I finally became satisfied.
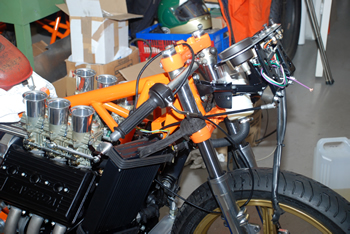
The existing brackets for the swing arm couldn’t be assembled in the right way on the new engine, so I had to make new ones. It was at the time, and still is, all prototyping work.
A stud from the gear box extended 2 mm too much whereby it could hit the swing arm in his highest positon. And so it cost another day.
So the story is: 3 steps ahead and 2 steps back.
A couple of years ago a mould had been made from the fairing, in case of…… Now it was the time to make a new fairing and then decide which one to use. The new one will be used.
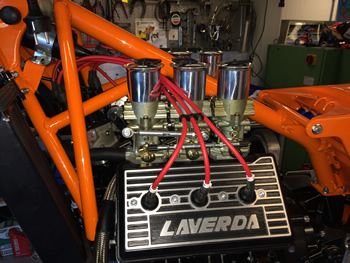
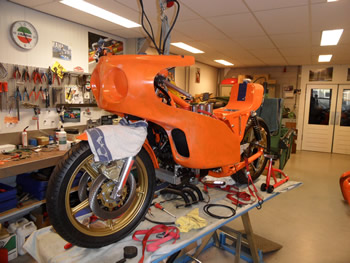
To adjust the engine and carburettors a new small and easy switchable gas tank has been made. Also easy for demonstration purposes.
Will be continued and enjoy reading,
Cor Dees
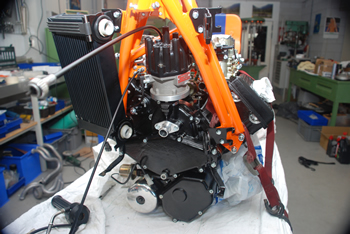
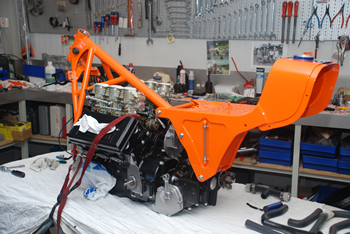
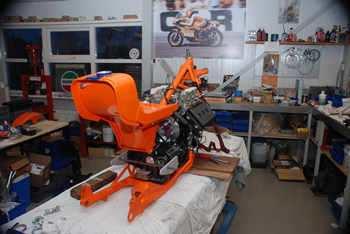
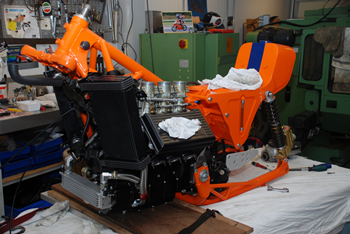
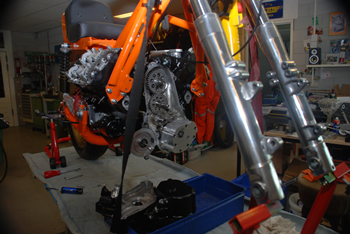
The chrome molybdenum tubular frame is assembled over the engine as well the aluminium
seat-oil tank-rear frame.
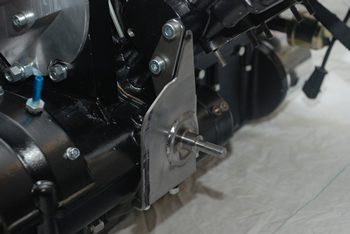
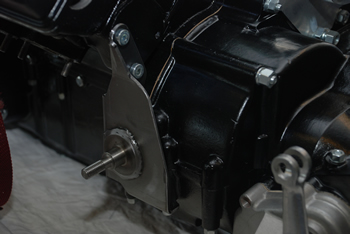
New pivot points had to be made as the existing pivot points were made for the prototype engine and did not fit perfect on this one.
Checking the swing arm and after that dissembling and finishing the welding of the pivot points.
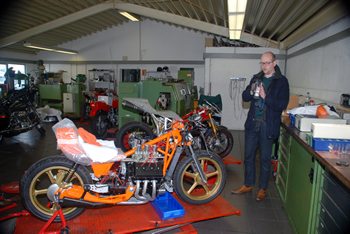
The V6 roughly built up and put on his wheels for a first test at Uwe Witt in Germany. Unfortunately there was not many progress with the new ignition. Our son Mels joined as a cameramen to catch the first roar of this bike. He better would have stayed at home.
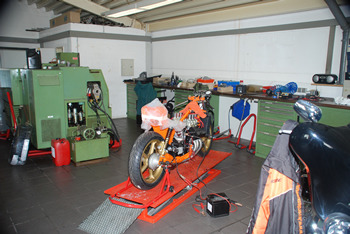
After several weeks another trip has been made to Germany for another try-out . But also this time there were too many problems with the new ignition. At more than 1000 revs on the simulator there was no good spark. It all could be followed on the scope. Until midnight Uwe has been working on it.
The bike only has run, but poorly and for only about 5 seconds.
It was a setback in my V6 story, but we will not give up.
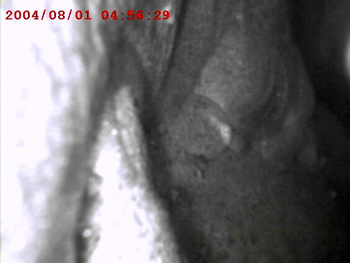
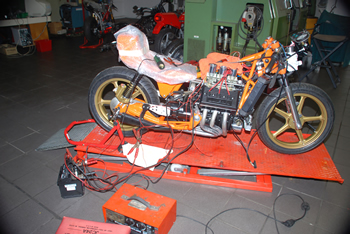
Having put the cooling system under pressure I went down into the engine with a very small camera system and found, after a very long day, the small leak in the front cover. Every 20 seconds a new drop of water came into the oil system ( see small circle in the centre on picture 15). And so another setback.
Fortunately the engine did not have to be disassembled again and the repair could be fixed quite easily.
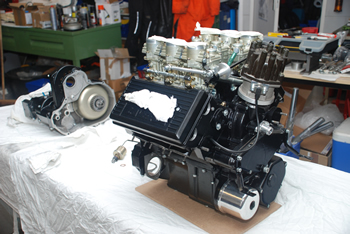
After these disappointments I now could make again some step forwards and the further built up
of the bike could be continued.
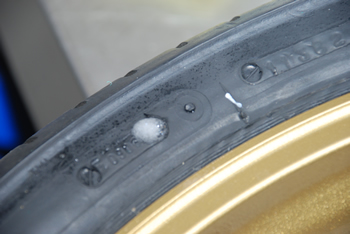
Another small leak has cost me hours as well to find. This bloody tiny leakage in the brand new Avon front tire caused an empty front tire every week.
Assembling the bevel drive and shaft.
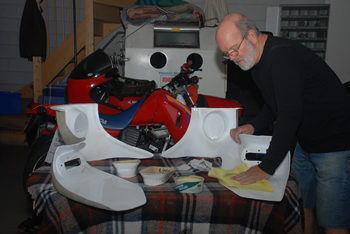
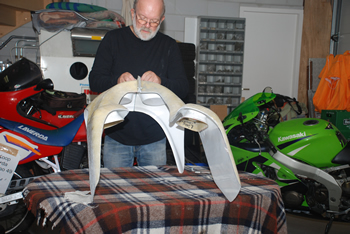
Waxing and assembling the new made mould for the fairing.
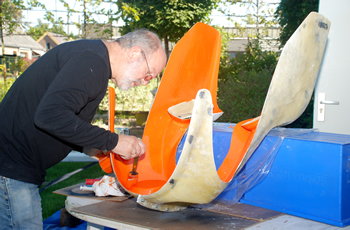
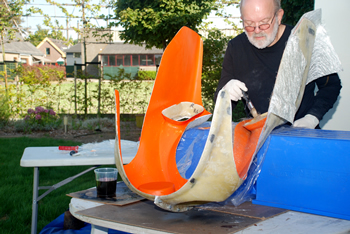
The making of...
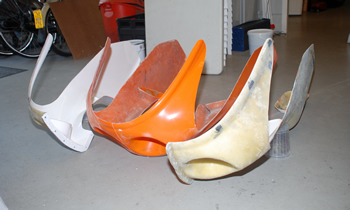
The result!

I made a small rest free steel gas tank to work easier on the carburetors.
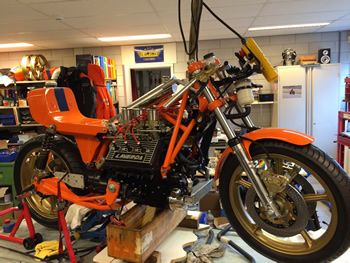
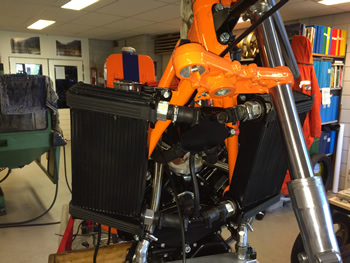
It is now looking like a real Laverda V6 again!