Update 13 - June 2013.
Dear readers,
I’ am very glad good progress could be made on the V6 project last winter.
The search for a good alternative for the valve stem seals in December and January has given me a nice headache. It took 6 weeks before I found the right seal and actually per coincidence
because someone asked me how things were going with the V6 project. He was overhauling a Honda 250 racer and the sizes of the seal he gave to me were very equal to the ones that were needed for the v6 engine. Hurray!!
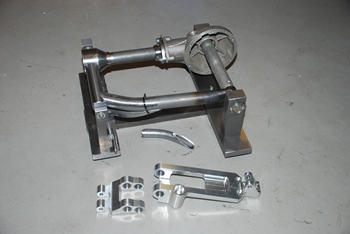
By all the fuss with the seals I couldn’t really continue building up the new engine. On the other hand I also liked to go on where Tijl Schimmel stopped developing the new swing arm for the proto type v6.
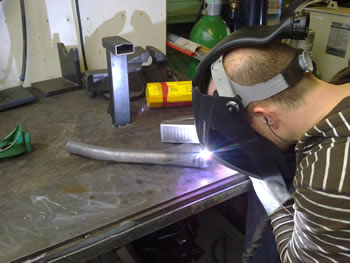
And so all parts were made for the new swing arm and a good jig had to be made to keep all parts under control while welding the swing arm. In my former machine shop they nowadays have a very good welder so I triggered him to weld my swing arm. In 2 evenings things were finished.
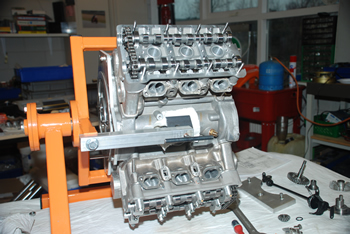
A couple of weeks later I went on building up the V6 engine. To get the right cam shaft timing I worked with the “lobe centre method “ because this is a very accurate method and because there were not many factory data available where I could work with.
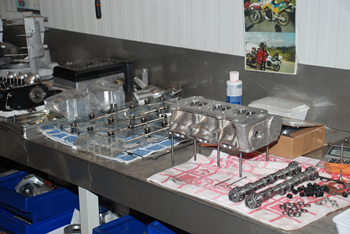
Both cylinder heads were built up with 1 intake and 1 exhaust follower including springs but without valves. In this way I was able to prevent contact between piston and valves while adjusting the camshafts. Now everything is almost in good position I have marked the gears and sprockets. Next step will be to take off the heads again and assemble the heads and put them on the upper crank case again. If all is well what I did assembling can be done quit quick.
6 Brand new carburettors that I bought 13 years ago are taken care off. At 2010 I was allowed to take off and check 1 carburettor of Piero Laverda’ s V6 to check the whole settings and to write down all the changes they did in 1978. A great help for me now. I any case my V6 will have to run on these settings although Piero’s one has different camshafts. Some jets had to be made because they have never been used in this kind of Dell’Orto’s. Many things had to be removed like chokes and acceleration pumps. All not necessary pimples and ears that get in the way were removed with the final result the carburettors can now live very close together.
After having put some more energy in the distributors and a nice visit at Uwe Witt with the engine in Germany it seems to be all clear for both parties to finish this into a good and happy end. So it looks positive as well.
From my friend I received all moulds for the lower crank case. Due to too many work he is not able to finish the upper part at this moment but there is no hurry with of course. These are just made in case of an emergency!?
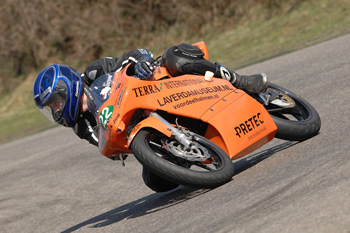
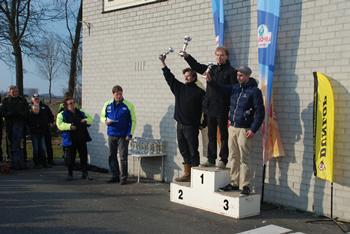
My son’s racing has been started again. The first race at Assen this year was at -5° C and a wind force of 7. That made a feeling temperature of -15° C !!. But it was dry.
It was absolutely no fun but he won both first 2 races.
Happy reading,
Cor Dees
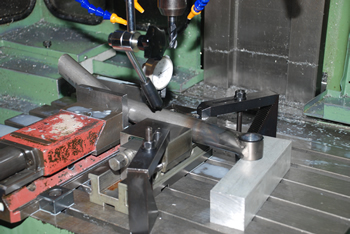
At first de left swing arm is welded and machined before it fits into the welding jig.
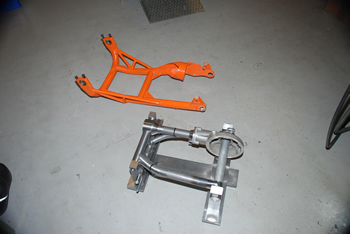
Clearly can be seen differences between both systems. The longer one used on the final 24 hour bike and the short one on the prototype.
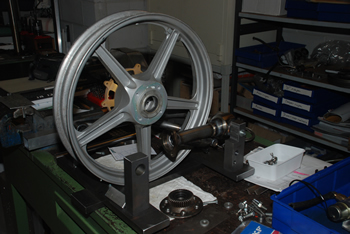
Laverda 1200 rim to be adjusted for the proto type V6. Another day or so with milling and turning to get it fit to the bevel gear.
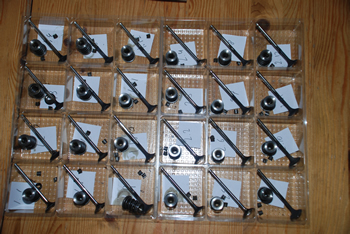
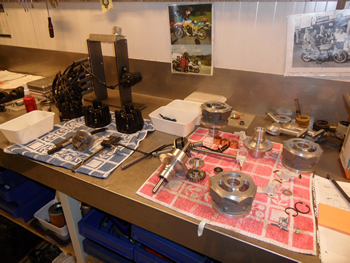
24 valves, inner springs, outer springs, valve gussets, rings, valve stem seals, valve dishes, valve caps, followers and
24 guides. The guides were all checked and they were perfect and can remain in the cylinder heads.
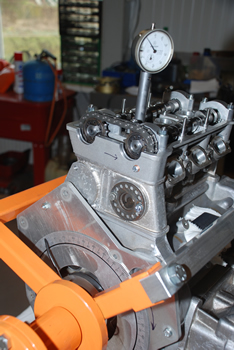
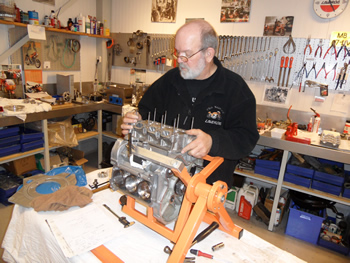
At first the heads were assembled without valves. At each cylinder head 1 couple of springs and followers were assembled to be able to measure the timing on the followers. In this way all camshafts were timed one by one by the Lobe centre method. The second picture shows the setting of the TDC for cylinder 1.
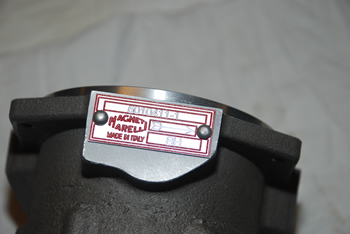
The almost never ending story of the distributors is now coming close to an end.
The type plates have been finished and the complete distributor has been assembled.
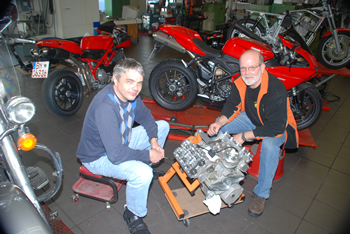
A visit, together with V6 engine, at Uwe Witt was necessary to make clear how to proceed with the ignition story and how to bring all to a good end.
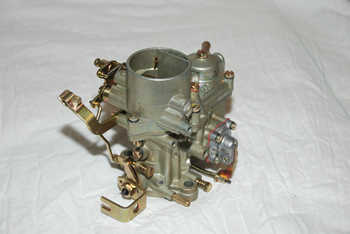

Complete 34 mm carburettor and other picture shows all the parts that could be removed because these are not necessary for use on the V6. Like acceleration pumps, chokes and more of this kind. Some special jets had to be new made because they are not available in the standard Dell’Orto stock.
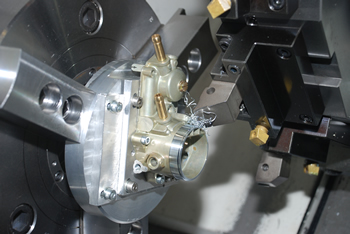

A jig was made to be able to cut a thread on the upper part of the carburettor on which the cone could be assembled.
Next picture; making the cones.
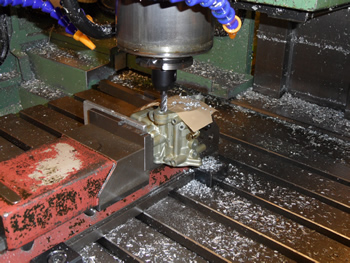
Making narrower and machine the carburettors to make them fit on the intake manifold.
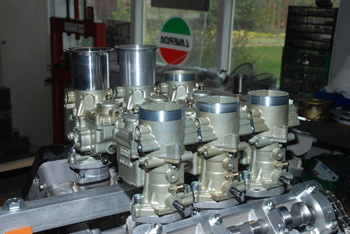
The result
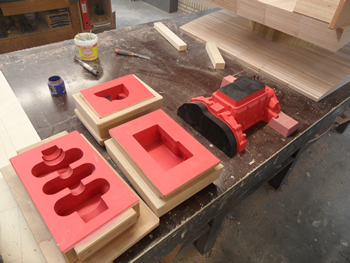 As a “back up“ I liked to have casting moulds for the upper and lower crank cases. My friend owns a mould factory and had lack of work 2 years ago. The he started this moulds but soon he was loaded with work and so I have to expect the upper crank case moulds will have to wait for a while. These ones any way look very good.
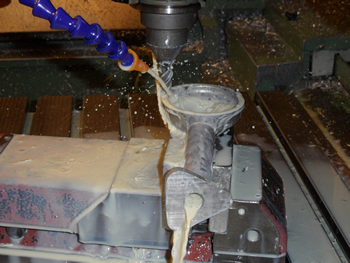
Making of the intake part for the dry sump.